

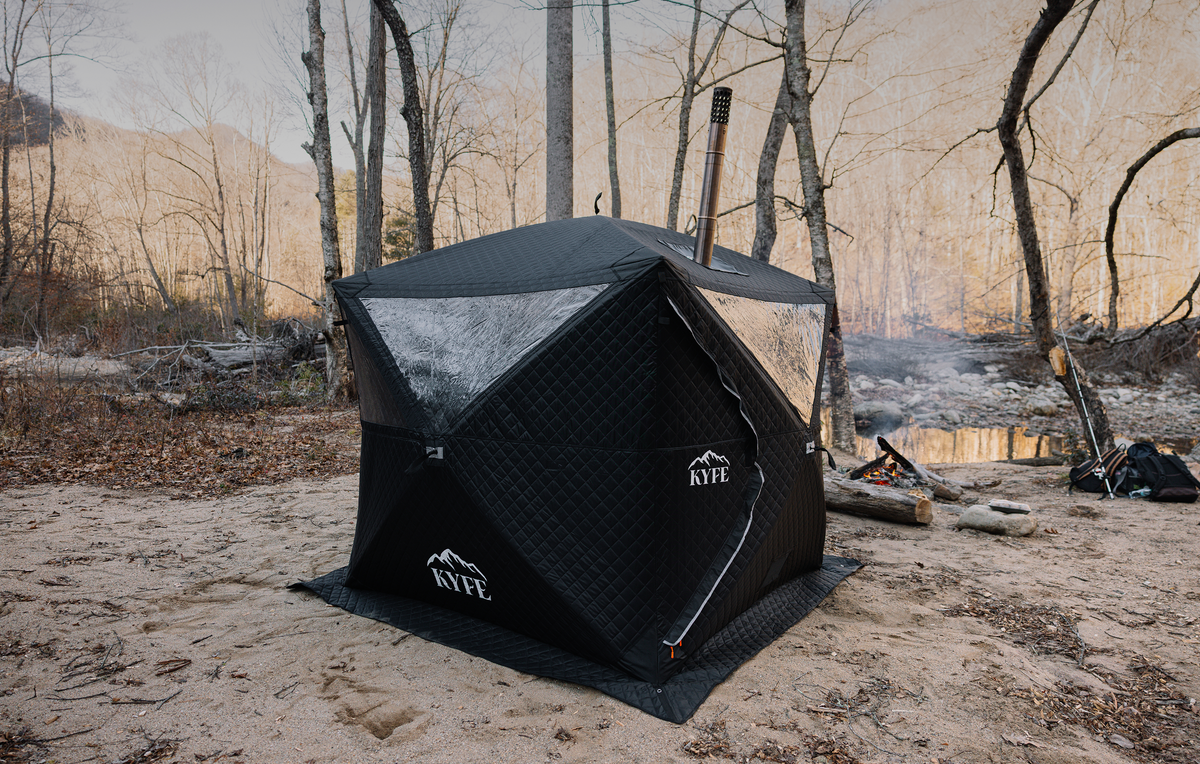
If your sauna tent feels more like a warm tent than a real sauna, you're not alone. The performance of any portable sauna tent relies on a balance between heat source, insulation, and airflow-and most people have room to improve in at least one of those areas. Most sauna tents reach temperatures of 160°F to 200°F when everything is dialed in, but getting there consistently takes more than just lighting a fire and hoping for the best.
This guide covers practical, tested tips to get a sauna tent hotter-from quick fixes you can try tonight to deeper technique adjustments that unlock real Finnish-level heat. Whether you're running a wood burning stove, a steam generator, or infrared panels, there's something here for you.
Quick Wins: Fast Ways to Make Your Sauna Tent Feel Hotter Today
Before we dive into combustion science or insulation specs, here are immediate adjustments that can make your next session noticeably better. Many sauna owners see a 10–30°F improvement just by tightening up their setup and usage habits.
-
Fully close every zipper, window, and vent during preheat. Each opening dumps a significant amount of accumulated heat. Seal all gaps to prevent heat loss in your sauna tent.
-
Preheat your sauna tent for 30 to 45 minutes instead of jumping in after 15. Air temperature climbs quickly, but the rock mass and structure need time to absorb thermal energy.
-
Sit higher in the tent. Floor level might read 140–150°F while the sauna bench height reads 165–175°F. That difference alone can transform a lukewarm session into a satisfying sauna experience.
-
Add modest löyly-small amounts of water on fully heated rocks-to create humid air that dramatically increases perceived heat. Even a sauna space that reads "only" 160°F dry will feel much hotter with properly timed steam.
-
Keep the sauna closed while heating. Every door opening resets your progress.
These quick adjustments often solve "my sauna tent isn't hot enough" complaints without needing new gear. Portable sauna tents can be set up in 5 to 10 minutes, but the real payoff comes from what you do after setup.
Know Your Heat Source: Wood-Fired vs Steam vs Infrared Sauna Tents
Not all portable saunas produce heat the same way, and what counts as "hot enough" depends entirely on your heat source. Here's how the three main types compare:
-
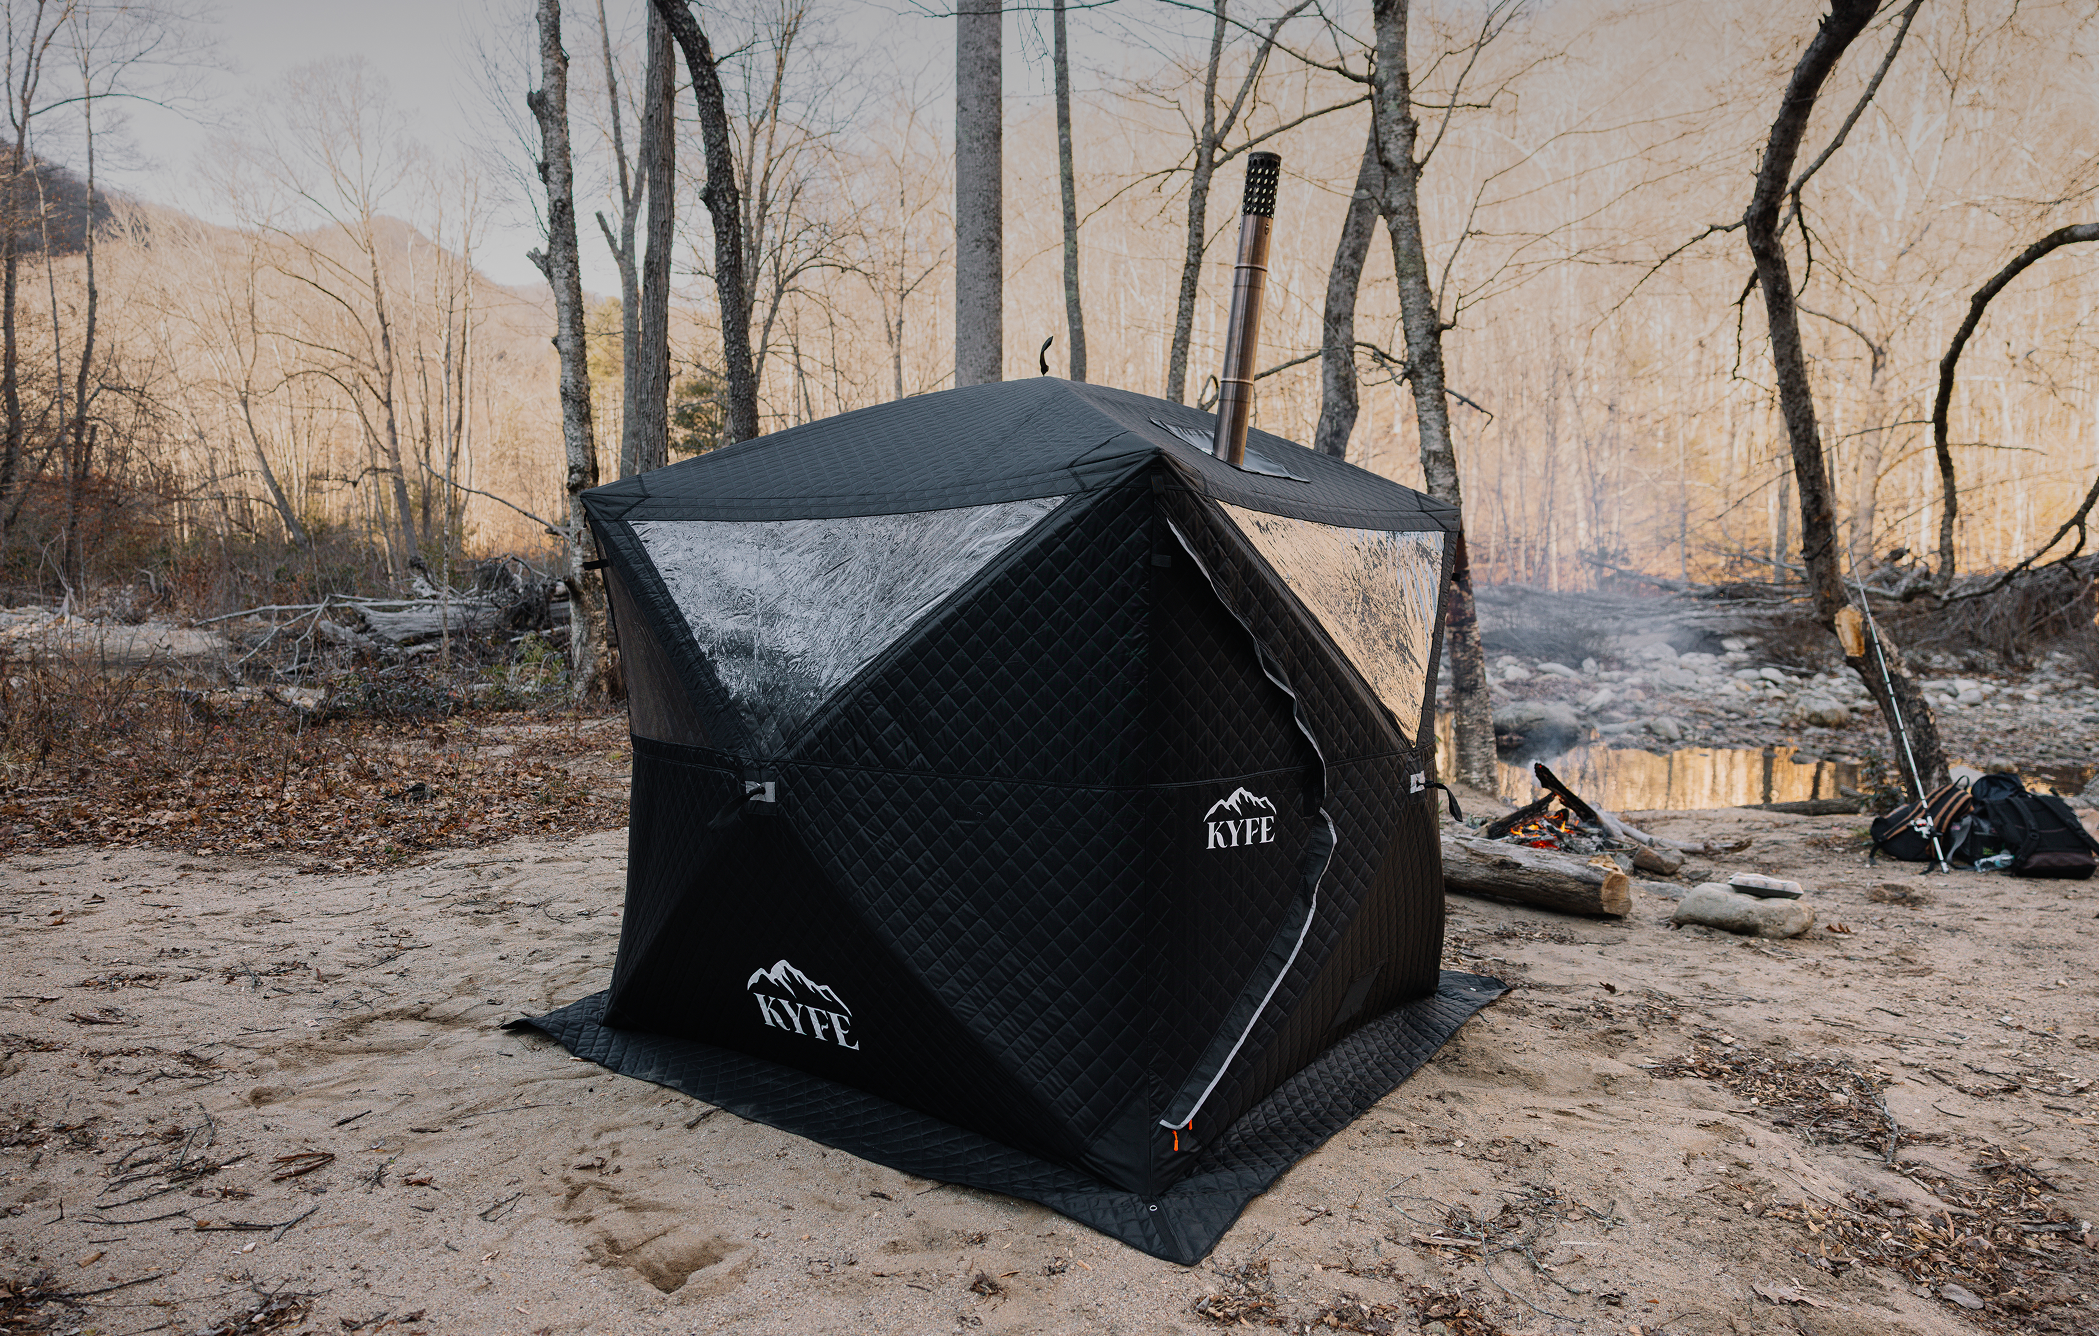
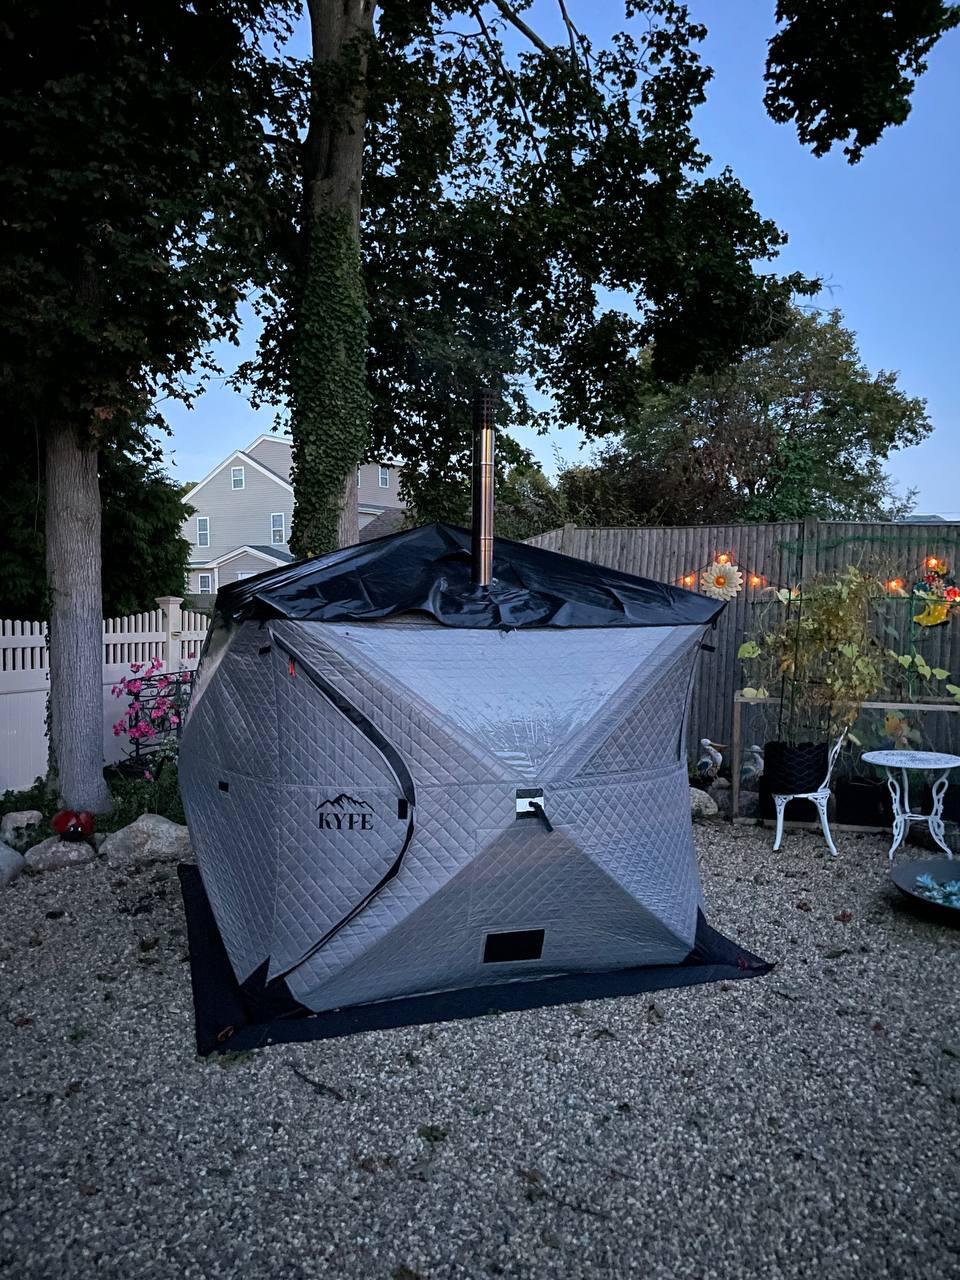
Wood-fired portable sauna tents (like KYFE kits) routinely reach 180–200°F at bench height with properly fired stoves. Most sauna tents in this category heat up in 10 to 30 minutes to usable warmth, then push higher over the next 20–40 minutes. This is the closest you'll get to what traditional saunas deliver without a permanent structure.
-
Steam sauna tents typically operate in the 110–130°F temperature range. High humidity makes the air feel hotter than the thermometer suggests, but you won't hit the same temperatures as a wood-fired setup.
-
An infrared sauna tent or blanket usually quotes panel temperatures of 120–150°F, though ambient air temperature may be lower. The radiant heat reaches your body directly, so the sensory experience can feel intense even at a lower temperature.
Portable sauna tents are designed for temporary and flexible use, and they're typically one-third to half the price of traditional saunas or prefab saunas. Traditional saunas typically have larger interior spaces than portable tents, but a well-run wood-fired portable sauna can match or exceed their heat output.
Chasing maximum heat looks very different depending on your setup. With a wood stove, you're managing fuel, draft, and stone mass. With a steam generator, you're optimizing sealing and humidity. With infrared panels, you're controlling proximity and ambient room temperature.
The bulk of this article focuses on wood-fired portable saunas, with dedicated tips for steam and infrared users later.
Dialing In Wood-Fired Heat: Wood Type, Airflow, and How You Load the Stove
This is the single biggest lever for making a wood-fired tent sauna hotter. For a wood-fired tent sauna, the biggest things are wood type, airflow, and how you load the stove. Get these right and everything else becomes easier.
Wood species and energy density:
-
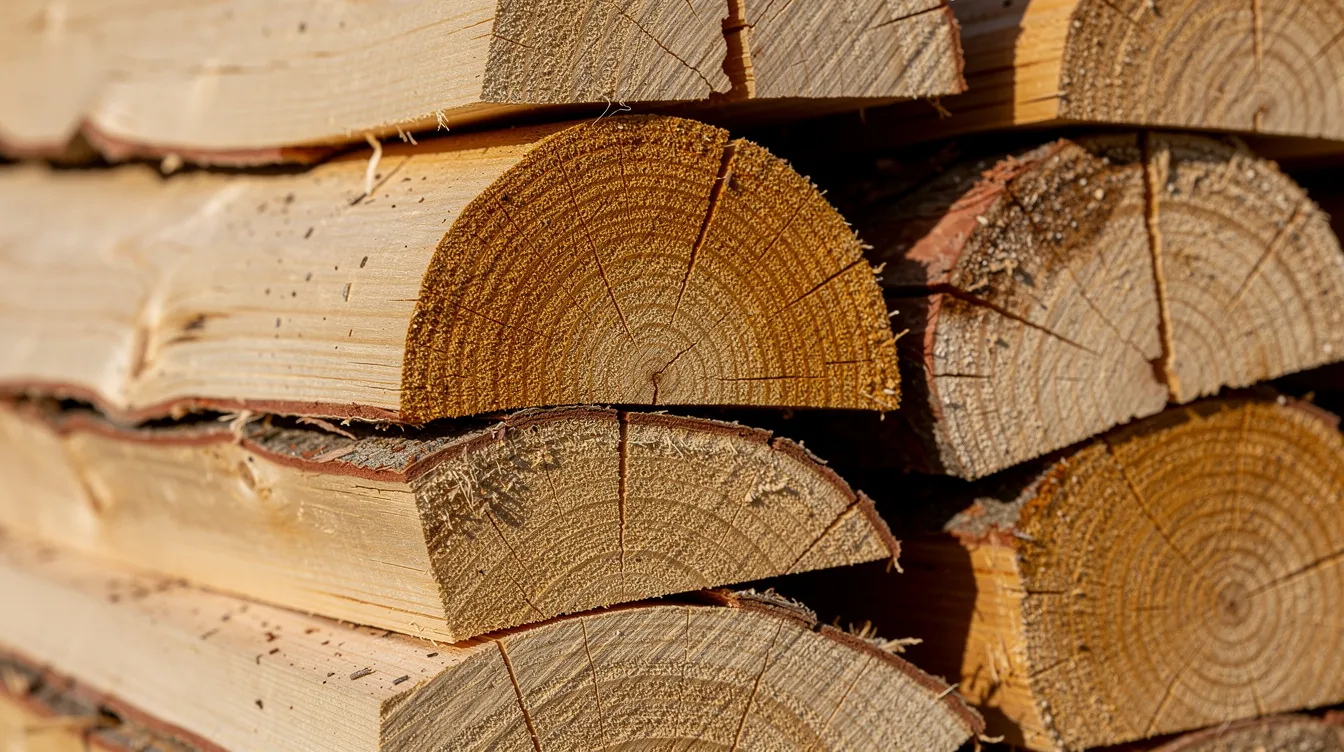
Use dry, seasoned hardwood. Oak, hickory, maple, ash, and beech are excellent. Hickory and oak are especially good when you want maximum heat and longer burns. Dense, seasoned hardwood is recommended for consistent heat production.
-
Avoid wet or green wood. Ideally the moisture content should be below about 20%. Wet wood wastes a lot of energy boiling off moisture instead of heating the portable sauna. Using dry wood maximizes combustion efficiency and heat production.
-
For species-specific recommendations, check out What Type of Wood to Burn in a Sauna.
Split size and loading:
-
Split the wood fairly small. Pieces around 2–4 inches thick ignite faster and burn hotter than huge logs. Burning finely split hardwood enhances combustion efficiency and heat output. Once the stove is ripping, you can add larger pieces.
-
Don't immediately stuff the firebox full. Get several pieces burning aggressively, establish hot coals, then keep feeding it. Build up a strong coal bed first.
-
Keep the firebox reasonably full once it's hot, but don't pack the wood so tightly that you choke airflow between the pieces. Airflow around sauna stones and the firebox should not be hindered for optimal heating.
Airflow and draft:
-
Start with plenty of airflow. Open the stove's air intake or damper fully during startup so the fire gets lots of oxygen. A clean, fast-burning fire produces considerably more heat than a smoky, smoldering one-adequate airflow is non-negotiable.
-
Once the fire is established, gradually reduce intake to avoid wasting heat up the chimney while preserving clean combustion.
-
Keep the ash from building up too much. Excessive ash can restrict airflow underneath the fire and drop stove output dramatically.
-
Make sure the chimney is clear and properly assembled. Good chimney draft pulls fresh air through the stove and makes a major difference in how strongly the heater burns. A chimney that's too short, bent, or blocked with creosote will hold back performance significantly.
If you want your sauna hotter tonight, try dry hickory or oak, split small, and run a strong, clean fire rather than slowly smoldering giant logs.
Preheat Like You Mean It: Time and Target Temperatures
Many people start using their tent 15–20 minutes too early. The air warms fast, but that doesn't mean the sauna is ready. Here's what realistic preheat looks like:
-
A wood-fired portable sauna tent typically needs about 30 minutes to reach 160°F and 40–60 minutes to push toward 180–200°F, depending on outside conditions. A sauna tent typically heats up in 10 to 30 minutes to initial warmth, but reaching your desired temperature takes patience.
-
Air temperature climbs faster than rock temperature. Give sauna stones at least 30–45 minutes of strong heat so they can store energy. Preheating sauna stones enhances steam production and overall heating performance-without hot rocks, adding water just cools the system.
-
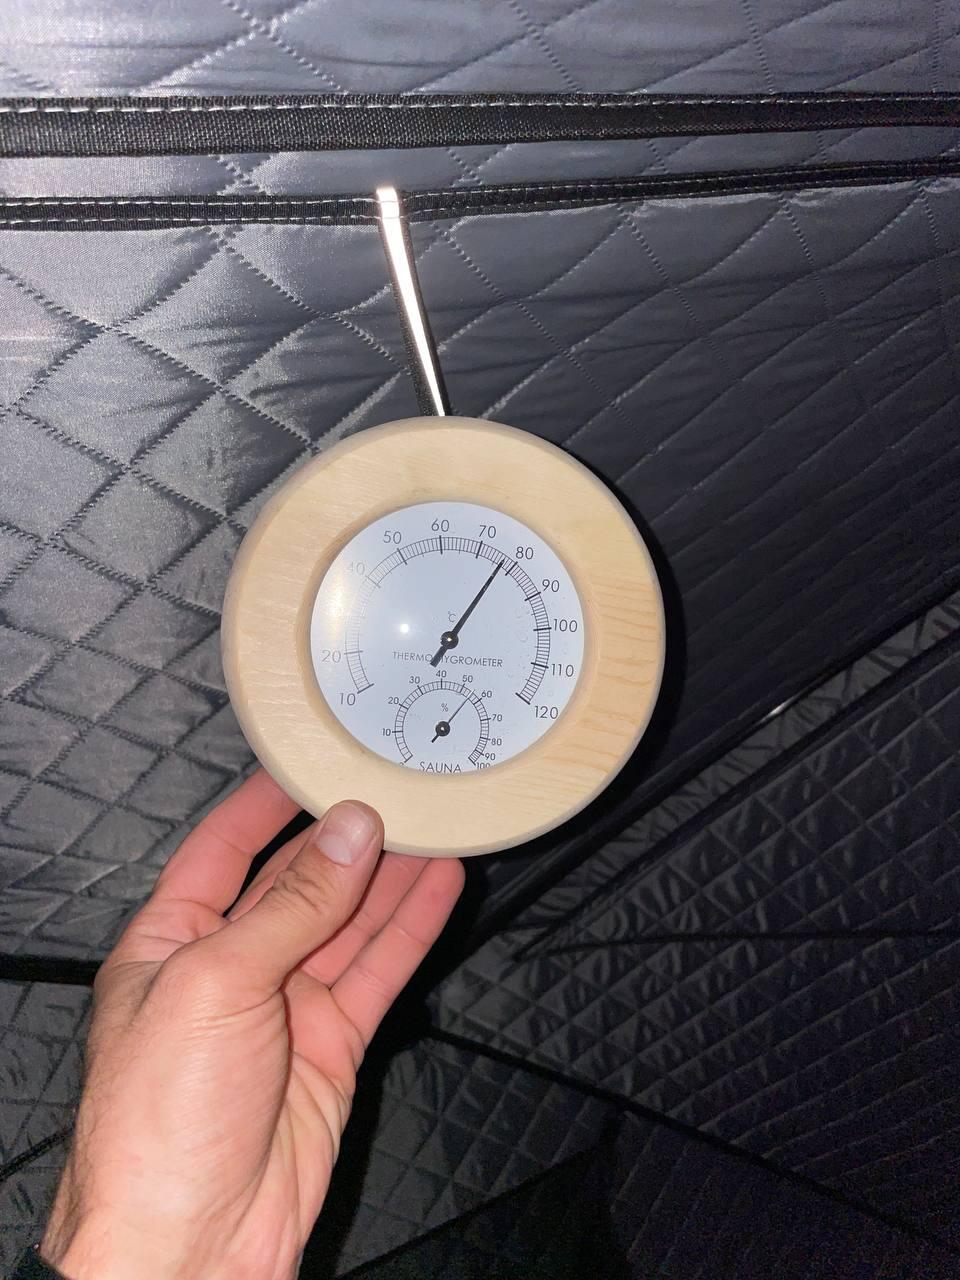
Use a reliable thermometer at bench height-not near the ceiling or right beside the stove-to know when the tent is truly hot enough. Bench-level readings of 160–190°F are realistic in well-run portable setups. For more detail on ideal ranges, see How Hot Should a Sauna Be.
-
Regular stoking of the wood-burning stove is necessary to maintain high temperatures. Don't load up and walk away-check and feed the fire every 10–15 minutes during preheat.
-
Cold-weather adjustment: in freezing ambient temperatures (below 32°F), extend preheat to 45–75 minutes and use more aggressive firing. The sauna heats much more slowly when fighting cold air on all sides.
Maximize Heat Retention: Tent Setup, Insulation, and Sealing
In a portable sauna tent, how well you retain heat is equally important to how much more heat your stove produces. Proper insulation is crucial for maintaining sauna temperature.
-
Heat escapes through zippers, seams, and floor contact. Fully close and check all zippers, windows, and vents during preheat. Only crack a vent open once the sauna is already at temperature to balance fresh air with heat retention.
-
Insulate the floor under the tent. Insulating the ground reduces conductive heat loss-especially over concrete, tile, frozen ground, or a deck. Use closed-cell foam mats, thick rubber stall mats, or a layer of wood pallets plus boards. Ground heat loss can be minimized by using insulated flooring, and this alone can raise perceived temperature by 10°F or more. Use mineral wool for effective sauna insulation in any permanent or semi-permanent installations.
-
Position the tent out of direct wind-on the leeward side of a garage, house, or among trees. For winter setups, consider an additional insulated cover or tarp over the roof to reduce radiant heat loss.
-
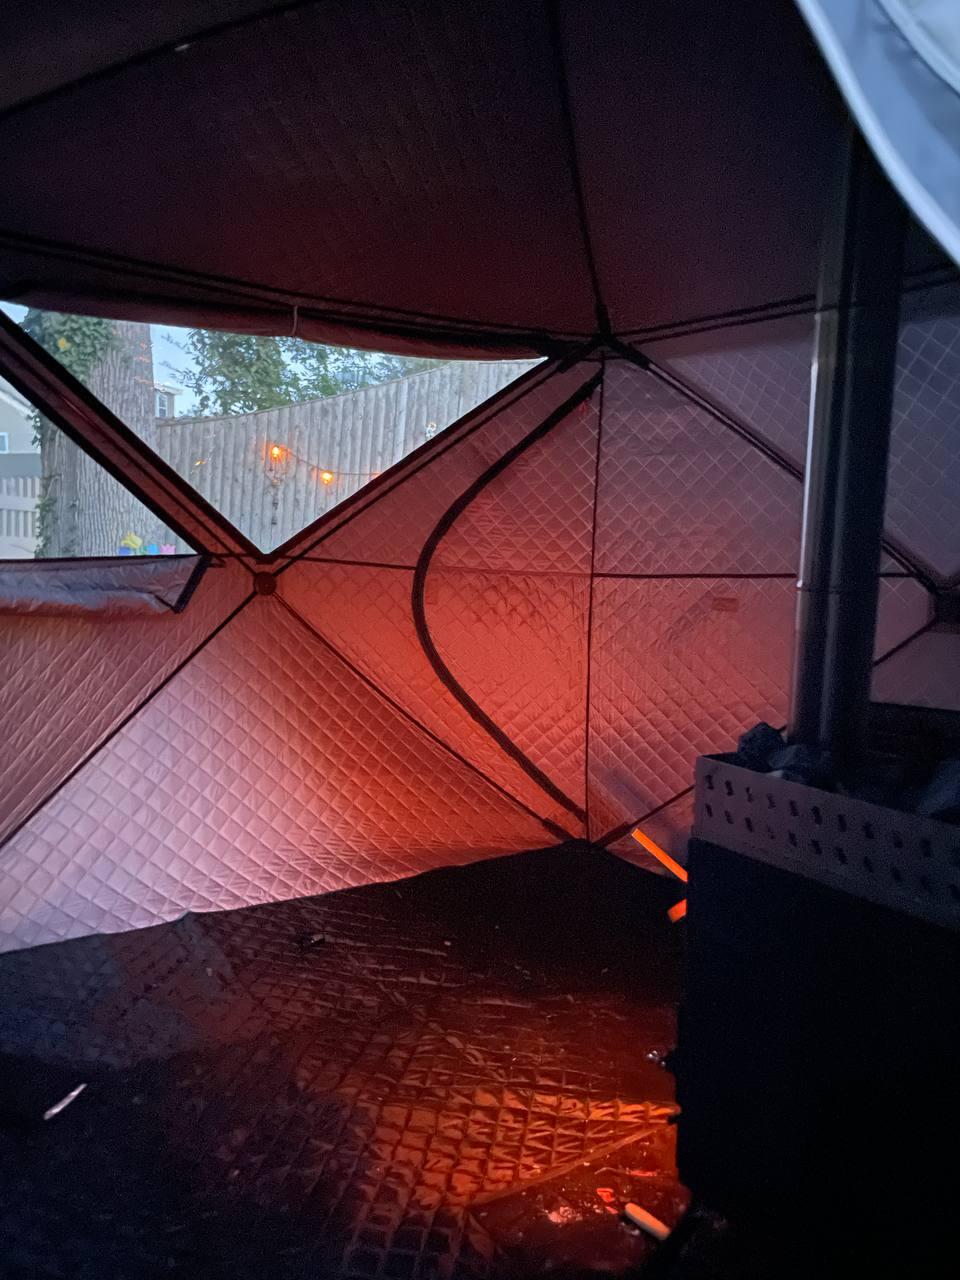
Inspect for visible light leaks at night (turn a light on inside, stand outside). Where light enters, warm air escapes. Address small gaps with heat-resistant tape or by improving pitching tension. For step-by-step guidance, see How to Set Up a Sauna Tent.
-
Insulation quality matters. A well-insulated tent with tight seams will hold heat far longer than a single-wall tent with loose zippers, regardless of how hot your stove runs.
Airflow That Works For You: Venting Without Losing All Your Heat
Here's the paradox: a well-vented sauna can actually feel hotter than a completely sealed one. Proper ventilation keeps hot air moving past your body instead of pooling uselessly at the ceiling, and it feeds your fire the oxygen it needs to work continuously at full output. Ventilation control is crucial for maintaining optimal sauna temperature.
-
Gentle, continuous airflow circulates the hottest air past bathers. Think of it like a breeze over hot coals-the movement makes the heat more intense against your skin.
-
Simple vent strategy for wood-fired portable saunas: keep an intake low near the stove (a door crack or low vent open) and an exhaust vent high on the opposite wall or via a small roof opening. This creates natural circulation without dumping all your heat.
-
Open vents wider during initial firing to feed the fire with fresh air. Once the tent reaches target temperature, partially close the exhaust to slow heat loss while still maintaining clean combustion.
-
Never fully seal the tent with zero airflow. An oxygen-poor interior space leads to stale, suffocating air that makes people feel exhausted even at lower temperature. Effective heat management involves minimizing draft and optimizing heater output, not eliminating all air exchange.
-
If the thermometer reads high but the sauna "feels" oddly mild, poor airflow and stratification-all the hot air trapped at the ceiling-is usually the culprit. Better heat distribution through proper venting solves this.
Use the Space Smartly: Bench Height, Seating Position, and Layout
This is one of the simplest layout tweaks with the biggest payoff. No construction project required.
-
In any sauna tent, air at head height can be 20–40°F hotter than air at the floor. Sitting higher in the sauna tent places you in the warmest air zone-it's often the easiest way to make your sauna hotter without touching the stove.
-
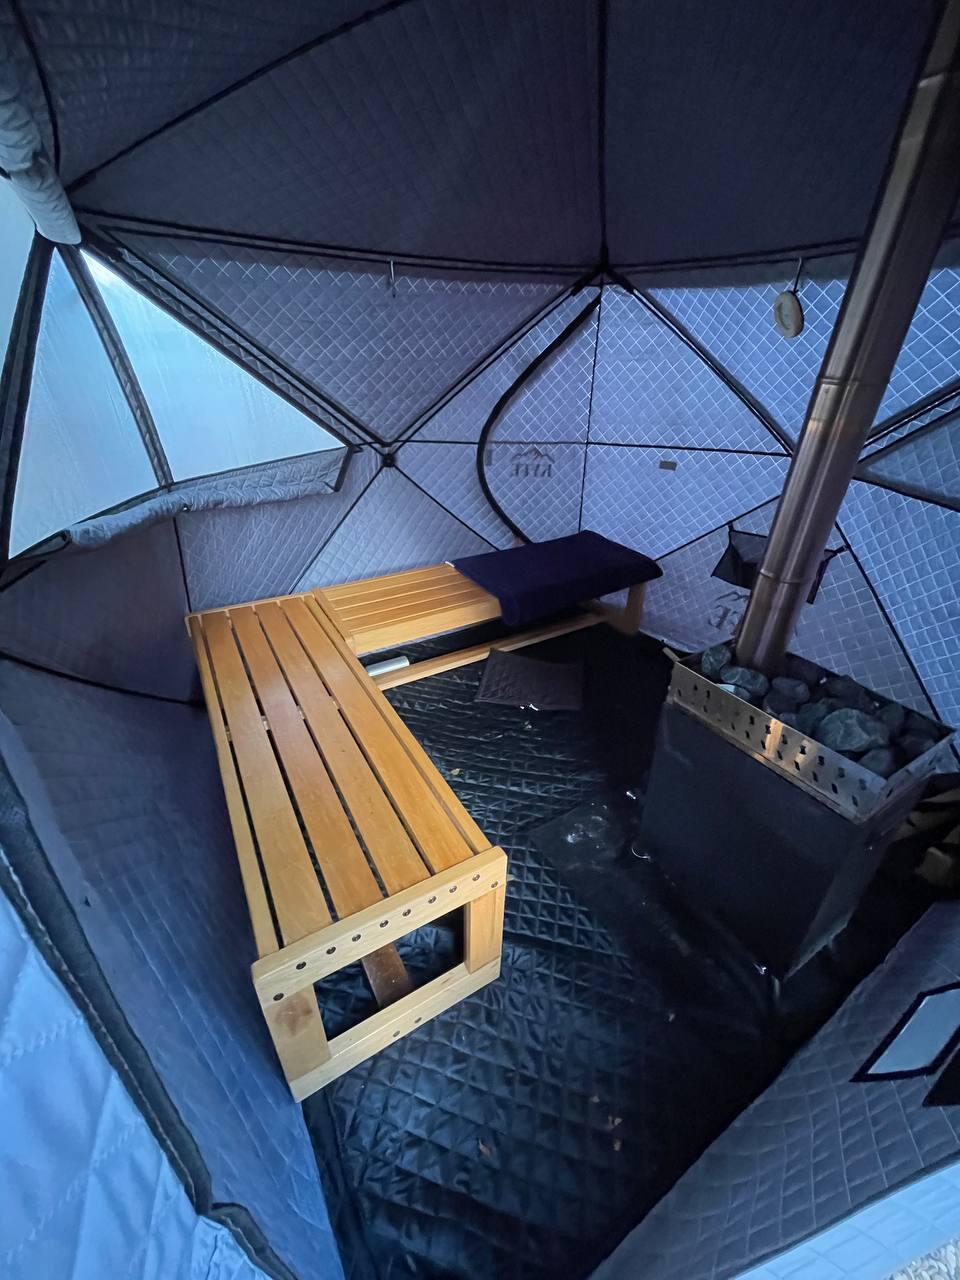
Raise your seating with a sturdy sauna bench or platform so your feet are closer to the level of the stove rocks. Finnish sauna practice says feet should be at or above stone level for true high heat exposure.
-
Position benches diagonally opposite the stove. This avoids radiant hot spots that can burn while still putting you in the hottest overall air in the space.
-
Practical example: in a 2–3 person portable sauna tent, swapping a camping chair on the floor for a 16–20 inch high bench can make the session feel like a 10–20°F jump. That's often the difference between "warm" and a genuinely satisfying sauna experience.
Steam and Löyly: Making a Moderate-Temperature Tent Feel Much Hotter
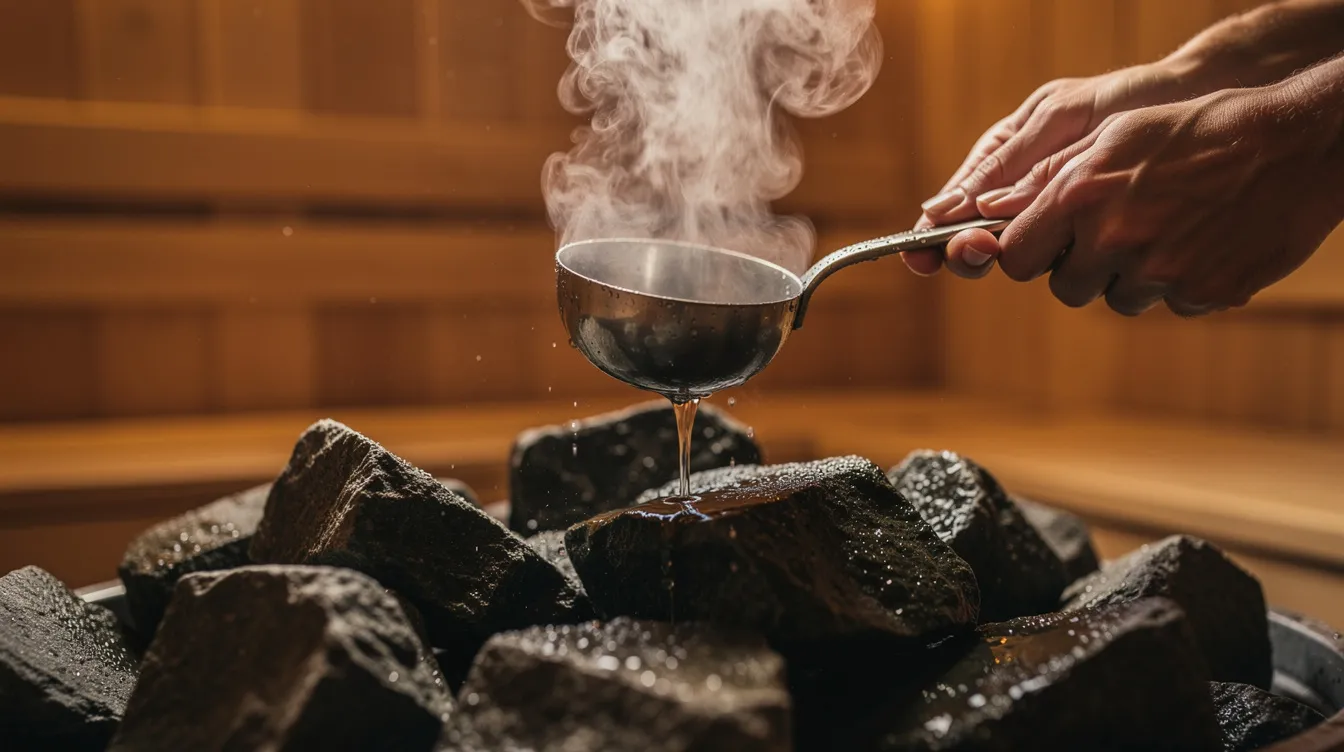
Löyly is the Finnish term for the burst of steam created by throwing water on hot sauna stones. It's the single fastest way to make a moderate-temperature tent feel dramatically hotter.
-
Adding humidity slows sweat evaporation and increases heat transfer to your skin, so 170°F with steam can feel as intense as 190°F in a dry sauna. The correct amount of water during steam applications contributes directly to perceived heat intensity.
-
Wait until rocks are thoroughly hot-after 30–45 minutes of strong firing-before adding water. Pour about half a cup at a time onto the hottest rocks. Proper air circulation around stones improves heat distribution and steam quality.
-
Let rocks recover between pours. Dumping too much cold water at once "kills" the rock mass, drops air temperature, and defeats the purpose. Use medium-sized, dark-colored stones for better heat retention.
-
For lower-temperature setups (130–150°F or infrared sauna cabins), introducing even modest humidity can make the space feel significantly hotter even if the thermometer barely moves.
-
Optional: add a few drops of sauna-safe essential oils (eucalyptus, birch) diluted in a separate water bucket to enhance the sensory experience. These don't change actual temperature but deepen the feel of the session. For technique details, see How to Get the Perfect Löyly.
Ambient Conditions: Cold Weather, Wind, and Site Choice
Outside conditions change what "hot enough" looks like and how hard your stove has to work to get there.
-
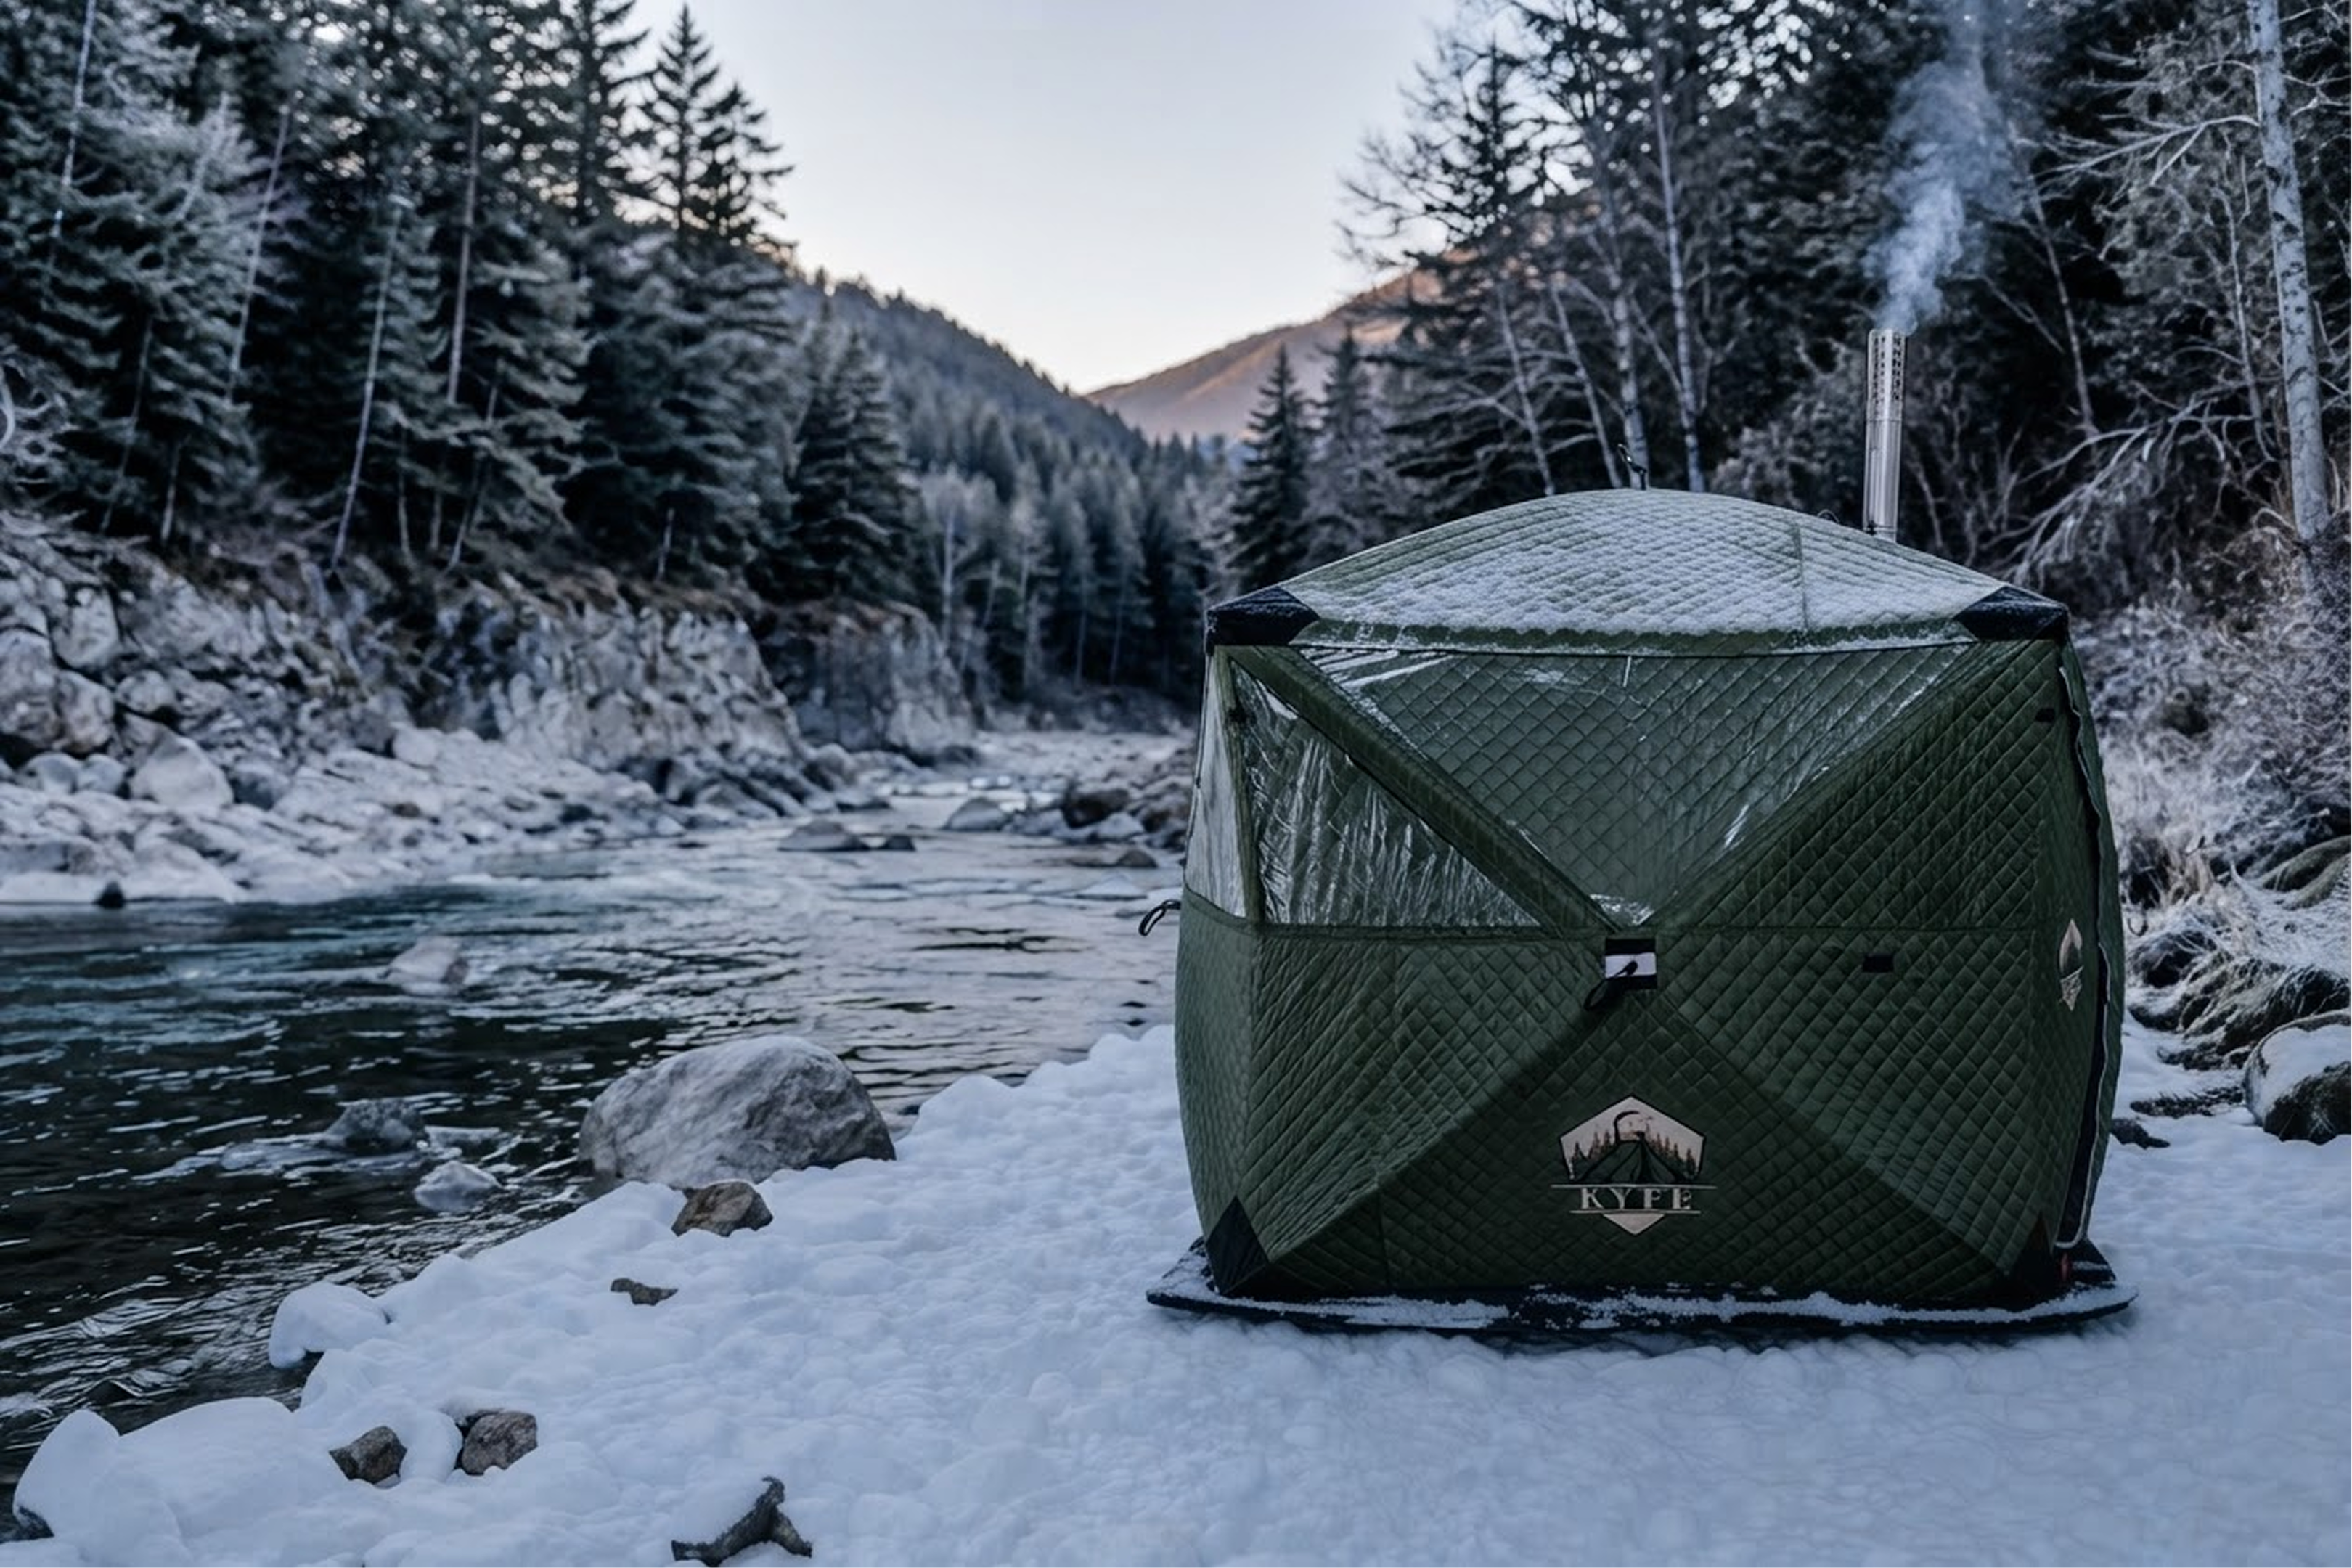
In freezing weather (below 32°F / 0°C) or high wind, heat loss through fabric, floor, and chimney climbs sharply. Cold drafts can significantly cool sauna tent temperatures. Expect longer preheat times and more frequent stoking.
-
Place the portable sauna tent on a dry, level surface away from strong wind. Strategically positioning tents behind windbreaks-a house, garage, or tree line-helps retain heat. Avoid exposed hilltops or open docks unless you add temporary wind screens.
-
Placing the tent over warm ground (a deck that absorbed sun during the day) helps compared with bare frozen soil or ice. The warm surface reduces conductive loss from below.
-
Shoulder-season advantage: in spring and fall with mild ambient temperature, users often hit 180–200°F with less wood and a shorter preheat compared with January in northern climates.
Right-Sizing and Maintaining Your Gear: Stove, Chimney, and Tent
Even perfect technique can't fully compensate for undersized or poorly maintained gear. If you've optimized everything above and still can't reach temperature, it's time to look at your equipment.
-
Tent volume and stove size must match. Typical wood-fired portable saunas use compact stoves designed for 2–8 person tents. Trying to heat a much larger space will cap your maximum temperature no matter how hard you fire.
-
Inspect your stove for warped grates, leaking doors, or damaged gaskets. Any of these reduce combustion efficiency and enough heat never reaches the sauna space.
-
Check chimney sections for leaks, misaligned joints, and creosote buildup. A blocked or overly short chimney chokes draft and holds back the entire system.
-
Inspect sauna stones annually for cracks and restricted airflow. Cracked or deteriorated stones absorb less heat and impede air circulation. For guidance on stone selection and care, see Sauna Stones & Sauna Rocks.
-
Keep the stove and tent interior clean and dry between sessions. Moisture causes corrosion and fabric degradation that eventually introduces air leaks and heat loss.
-
For KYFE customers, periodically review KYFE's setup and troubleshooting guides to confirm your stove, rock basket, and chimney are assembled exactly as designed for peak output.
For Steam and Infrared Portable Sauna Tents: Extra Ways to Feel Hotter
These tips are specifically for people using steam generators or infrared sauna tents and blankets-not wood stoves.
Steam sauna tents:
-
Fill the steam generator with warm tap water instead of cold to reduce heat-up time by several minutes and help the tent reach maximum heat faster.
-
Mineral deposits can build up inside the steam generator and reduce steam output, so clean it regularly to keep heating performance strong.
-
Fully seal the steam tent-close every zipper and opening-before switching the unit on, so steam can saturate the interior space and reach 110–130°F quickly. High humidity is the primary heat delivery mechanism here.
-
Insulate under the tent with foam mats or folded towels when placed on tile, concrete, or other cold floor surfaces to keep feet warm and reduce heat loss through the floor.
Infrared sauna tents and blankets:
-
Although air temperature may be lower (120–150°F), moving closer to infrared panels or wrapping the blanket more snugly increases radiant exposure and makes the infrared sauna feel hotter against your body.
-
Keep the surrounding room reasonably warm-not air-conditioned to 65°F-so your body doesn't lose heat too quickly between panel cycles. A hot tub-warm room (75–80°F) reduces thermal contrast and helps you retain heat more effectively.
Safety First: Staying Within a Healthy Heat Range
Hotter is not always better. The goal is enough heat to trigger the physiological benefits of heat therapy-promoting relaxation, improving circulation, supporting recovery-without risking harm.
-
Traditional saunas reach 150°F to 195°F at bench level. Wood-fired portable sauna tents can comfortably run in the 160–200°F range when users are experienced and hydrated.
-
Beginners should start with lower temperature settings (130–160°F) and shorter sessions (10–15 minutes), then build up as they acclimate. Sauna session lengths should be adjusted based on heat levels and personal comfort. For a structured approach, see Sauna Routine for Beginners.
-
Hydrate before and after sessions. Avoid alcohol during use to avoid dehydration. Exit immediately if you feel dizzy, nauseous, or notice palpitations.
-
People with uncontrolled high blood pressure, serious heart or respiratory conditions, or who are pregnant should consult a doctor before using high temperatures in any sauna. More on this topic at Are Portable Saunas Safe.
-
Frequent sauna use improves cardiovascular health and circulation-the health benefits are well-documented-but they come from consistent, safe practice, not from pushing to dangerous extremes. Combine smarter firing, better setup, and safety awareness to unlock more of what heat therapy and contrast therapy offer without compromising wellbeing.
How KYFE Designs Sauna Tents for Real 180–200°F Sessions
As a maker of wood-fired portable sauna tents, KYFE builds every kit around one goal: delivering authentic Finnish-level heat in a portable format that any sauna enthusiast can set up and fire confidently.
-
KYFE tent kits-the mini (2–3 person) and large (6–8 person)-feature insulated walls, efficient wood stoves, and rock baskets engineered to hit 180–200°F at bench height. Portable sauna tents can heat up to 200°F in 30 minutes with proper firing, and portable sauna tents can be set up in 5 to 10 minutes before you even light the stove.
-
Design details like reinforced seams, carefully placed vents, floor skirts to block ground-level drafts, and included cold plunge options support contrast therapy routines-10–15 minutes of high heat followed by 1–3 minutes of cold water immersion, repeated 3–5 times.
-
KYFE backs their portable saunas with clear setup guides, comparison articles, and responsive support to help customers troubleshoot "sauna not hot enough" issues before ever considering an upgrade. Portable saunas cost one-third to half the price of traditional saunas, and KYFE's kits are built to close the performance gap.
-
If you want a reliably hot portable sauna-not just a warm tent-explore KYFE's wood-fired sauna tent kits. The difference between a disappointing session and a real sauna experience usually comes down to the gear and the habits behind it. Start with one or two changes from this guide tonight, and build from there.
Outdoor Sauna Guide: Why Wood-Fired Saunas Belong in Your Backyard
Portable Sauna for Home: Complete Buyer's Guide to Heat Therapy with KYFE